HOME THE SHOP OUR STORY SPONSOR US FEATURED
Showing posts with label DIY. Show all posts

DIY>> Fall Craft Link Up #1

Hey everyone! I wanted this fall to be awesome! Not only for me, but for you guys as well, so starting today I am introducing a new link up that will probably be seasonal, this first link up begins with fall! I know how much all the readers and bloggers I follow love fall, but what about all those crafts that you can do??!! There are tons, all those acorns, leaves, pine cones  knitting with tea/coffee, crochet, hey, I could go on forever! So here is my first link up ladies/gents, I hope you enjoy and participate, the only thing that could come out of it is just a little fun!

For my first link up I have a little common craft. The dreaded pom-pom garland. Now I don't know if you have a fireplace, but the one great thing that charmed me into our condo was the fireplace and mantle. Anyone who has a fireplace can understand, the mantle can be the most fun, and most complicating place ever! Sometimes you don't know what to put up there, and sometimes you feel like a genius for the placement of various items that you have arranged. What I love?? Pom-Pom Garland. I've seen this craft done TONS of ways, however I feel like a doofus trying to do them. So I broke it down...okay yeah, so you ask, how much more can you possibly break it down Meg? Well, im talking grade school people! Well, here you are my friends, enjoy, and link up! 


Whatcha think?! Okay so here is your instructions people. 

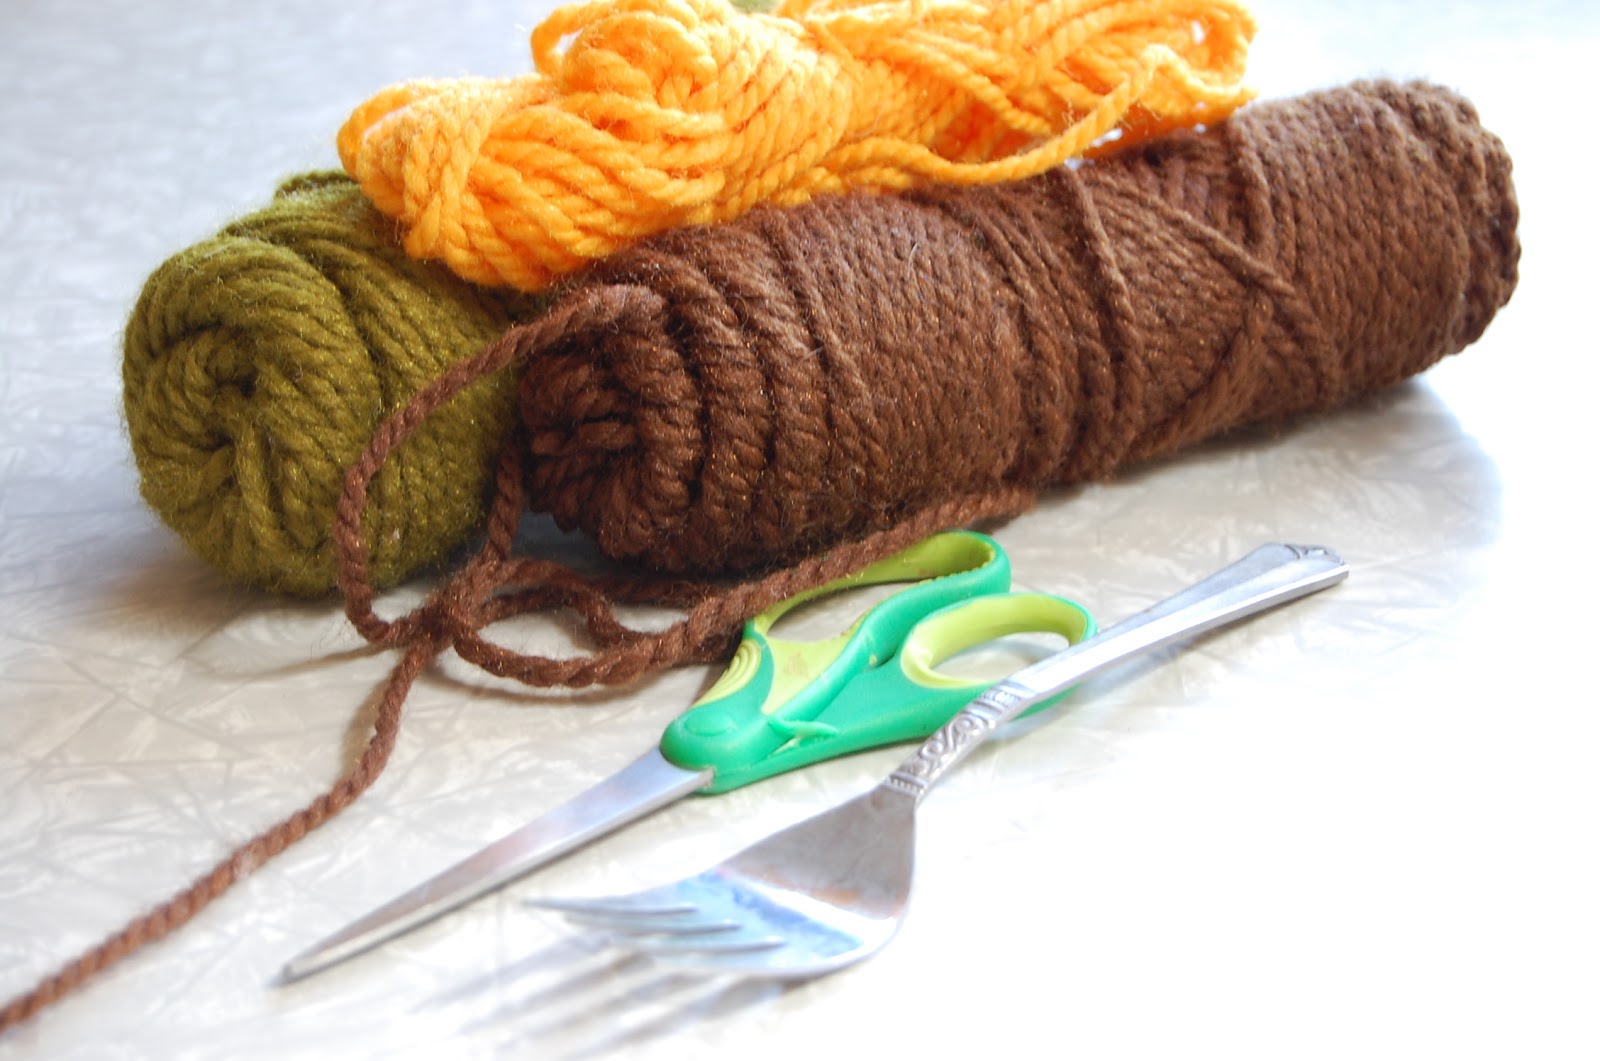
Gather your tools, Yarn, Needle, Scissors, and a fork
You can either use the fork, or your hand, I tried both, I also used retro rug yarn so its much thicker.

1) wrap the yarn pretty thick (not tight) around your hand/fork.
2) Cut a small piece of yarn off.
3) Take the loop of yarn off your hand(if you using that) and tie string around the whole loop.
4) If your using a fork, fit the string through the middle and tie.
5) Cut both looped ends for your little pom friend to begin.
6) Pouf it out and trim the edges. TA-DA!(Now make tons!)
7) Take your needle and other yarn(measure it for where your putting it) then put it through the center. 
8) Its like stringing popcorn people!
9) I really wanted 10 total numbers. 
10) Enjoy and love your pom-pom garland! I know I do!

I hope everyone enjoyed that and please link up your awesome crafts, they can be whatever you would like, as long as they have a bit of a fall theme! (Recipes allowed)


DIY >> Suitcase Kitty Bed


Do you have problems with kitties laying everywhere?! Well I do, and I have just the solution for you!


Lately we have had an abundance of hair on furniture, because, well, the cats lay where they want (with the exception of counters/table of course). So the wheels in my head have been turning...

I have a few suitcases laying around, and I have seen those awesome beds they make for pets, but what about a nice mid century style to match our condo?? So, I had this ottoman, the vinyl had cracked so we decided to salvage the legs and throw the rest out.


Then I remembered that one of my suitcases was becoming quite tattered on top because the cats liked to jump on them. So. We went to work.
 I began by opening the suitcase and cutting the lining that covered the back seam.


Once we completed that we then had to bend the brackets for the hinge. (Note: Not every suitcase may be like this)
I recommend having a helper.


Be sure to have a great puppy helper too once the piece is off!


Once you have the top and bottom separated (I recommend using the bottom for your bed part) then you need to get your legs, some bolts and nuts, a screw driver, and a pair of pliers.


We used flat bolts so they wouldnt poke the animals, so we used a pointed screw to make a hole, then put the bolt through, and put the nut on the other side. Once you have the nut attached, then hold the nut in place with pliers and turn the bolt with a screw driver ( I recommend a helper for this too!)


There is one side.


And the other!
When you complete all your legs, you can then purchase a pet pillow for the inside, or make one like I did. We used fabric and a human pillow!

There you have it! She loves it!


Tomorrow we are going to a local antique mall, ill be sure to instagram some great pics for you guys! Let me know if you try out the kitty(or puppy) bed. We like it because the cats are high up and the short corgi cant reach them! :)


DIY >> Glitter Jar Lanterns


Heres a little DIY I threw together that I really wanted to share with you guys! We have a pretty fireplace in our condo but why would we use it during summer?! We wouldn't! So that's why I decided to spruce it up with this lovely candle DIY!
First off...I have been collecting glass jars for a while. They are pretty much useful for tons of crafts, and making all kinds of things.

After I gathered my jars, I got my supplies. I actually found mine at a dollar store but im sure any spare craft items you have would do. I used a paint brush, craft glue, and glitter. Of course... and jars.


Once I gathered my supplies I went to work. I suggest putting newspaper down. Glitter is messy, unless of course you like that type of thing.(aka glitter around your home)


I watered down my glue because it was very thick, im sure that if you have a thinner glue this wont matter as long as it dries clear.


Pour out your glitter, or if you can find them in shakers, I HIGHLY suggest this. Picking it up with your fingers is not exactly a blast. Not to mention it was on me for days.


ALWAYS.. have a helper. Mine was not exactly help though. :)
The next things are pretty basic. Use your brush to coat the jars in glue, then, shake or drop your glitter on your jars and shake the jar or tap on your surface to remove loose glitter. Add candles, enjoy!
I found that the glitter is still a little loose so I suggest leaving the lip of the jar glitter free to carry it.
They are pretty and easy!
There you go ladies and gents!  By the way, be expecting our sponsor post tomorrow!